Excel Module 5 Capstone Tasks Solutions
Overview – In the following capstone project, you will create an Excel from a blank file. This file will incorporate the items learned in Chapter 11 and Chapter 12. Each step has a point value associated with it and is shown in the instructions below.
Steps
1) Start Excel and open e12c1Schedule and save it as e12c1Schedule_LastFirst in Macro-Enabled Template file format.
2) Apply the Retrospect theme.
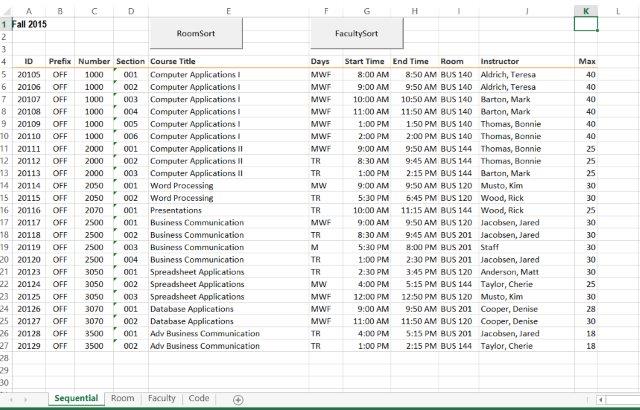
3) Apply the Heading 3 cell style to the column labels in the range A4:K4 in the Sequential worksheet.
4) Apply the Aspect theme color.
5) Save the template.
6) Record a macro named RoomSort.
7) Display the Room worksheet data, use the Name Box to select the range A4:M100, and then delete the selected range. (This process will delete any existing data to ensure empty cells before copying new data to this worksheet.)
8) Display the Sequential worksheet, use the Go To command to go to cell A4, and then press Ctrl+Shift+End to select the scheduling data. Copy the selected range and paste it starting in cell A4 of the Room worksheet. Use the Go To command to go to cell A4.
9) Create a custom sort with these settings:
a) Sort by Room in alphabetical order.
b) Sort then by Days with a custom order by adding entries in this order: MWF, MW, M, W, TR, T, R, S.
c) Sort then by Start Time from earliest to latest.
d) Perform the sort.
10) Display the Sequential worksheet, use the Go To command to go to cell A1, and then stop recording the macro.
11) Save the file as a Macro-Enabled Template.
12) Record a macro named FacultySort.
13) Display the Faculty worksheet data, use the Name Box to select the range A4:M100, and then delete the selected range. (This process will delete any existing data to ensure empty cells before copying new data to this worksheet.)
14) Display the Sequential worksheet, use the Go To command to go to cell A4, and then press Ctrl+Shift+End to select the scheduling data. Copy the selected range and paste it starting in cell A4 of the Faculty worksheet. Use the Go To command to go to cell A4.
15) Create a custom sort with these settings:
a) Sort by Instructor in alphabetical order.
b) Sort then by Days with a custom order you created previously.
c) Sort then by Start Time from earliest to latest.
d) Perform the sort.
16) Display the Sequential worksheet, use the Go To command to go to cell A1, and then stop recording the macro. Save the Macro-Enabled Template.
17) Insert a button at the top o the worksheet and assign it to the RoomSort macro.
18) Edit the text that appears on the button to display appropriate text.
19) Create, place, and edit a button or the second macro.
20) Right-click each macro button and set 0.5″ height and 1.5″ width. Ensure all buttons are the same distance from the top of the worksheet and the same distance apart.
21) Save the Macro-Enabled Template.
22) Save the workbook as e12c1InfoSys_LastFirst in the Excel Macro-Enabled Workbook file type.
23) Delete the specific scheduling data on all three worksheets, but do not delete the macro buttons or column labels in the Sequential worksheet.
24) Save the file as e12c1InfoSys_LastFirst in the Excel Macro-Enabled Template file format. Close the template.
25) Use the New dialog box to select the e12c1InfoSys Macro-Enabled Template you created.
26) Open e12c1Office, copy the data, and then paste the data below the column headings in the Sequential worksheet. Center data horizontally in the ID, Prefix, Number, and Section columns.
27) Click the macro buttons to sort the data on the respective worksheets.
28) Save the file as e12c1Office_LastFirst in the Excel Macro-Enabled Workbook file format.
29) Submit completed file to Module 5 Capstone Dropbox before due date. Files to submit include:
a) e12c1Schedule_LastFirst
b) e12c1InfoSys_LastFirst
c) e12c1Office_LastFirst
- File Format: MS-Excel .xlsx
- Version Used: 2013